|
|
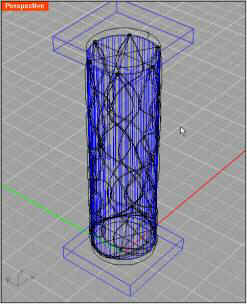
So you just found or made that great model and now you’re ready to dump it all into Bryce to be textured and rendered. File … Import Object … wait, wait, wait, and:
Look familiar? Although Bryce can handle some pretty large models, the import filter can’t. Here is a workaround to pull large models into Bryce. We’re going to break up that large file into smaller pieces and import them separately. This tutorial was written for Rhino models but the concept can be applied to most other modeling software. There is another handy application of this technique. I usually develop a large model in stages. I model the big features in Rhino, export it to Bryce and test render to get the scale and decide which materials I want to use. As I refine the model, I repeat the model/test render cycle. Using this method, I can import only the revised sections of the model, saving a lot of time and trouble. Step 1 - Get the latest versionLarge files would not save properly with Bryce 3D and some of the early versions of Bryce 4. There is nothing worse than going to all the trouble of importing a model and not being able to save it. Make sure you are using the latest version of Bryce with all available patches applied. Step 2 – Use an appropriate file typeThe Wavefront OBJ and AutoCAD’s DXF file formats are popular because they are very portable. In addition OBJ files include texture and smoothing information so that once the model is imported, it is ready to use. The trouble is, these files are in an ASCII (readable) format and they place a heavy strain on the import filter. Whenever possible, use the 3DS format instead. Objects are stored in a more Bryce friendly binary format. You may have to import other file types into Rhino first or use a format conversion utility. Step 3 – Group and organize the modelIn Rhino, organize the model by material. Create layers for each material. If you have very complicated objects you may need to create several layers for the same material.
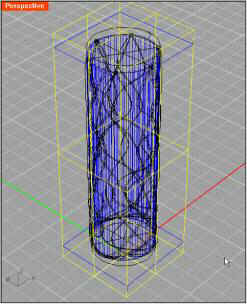
Step 4 – Create a bounding boxUse the Rhino bounding box tool (on the Analyze menu) to create a bounding box around the entire mode. Create a separate layer for the bounding box.
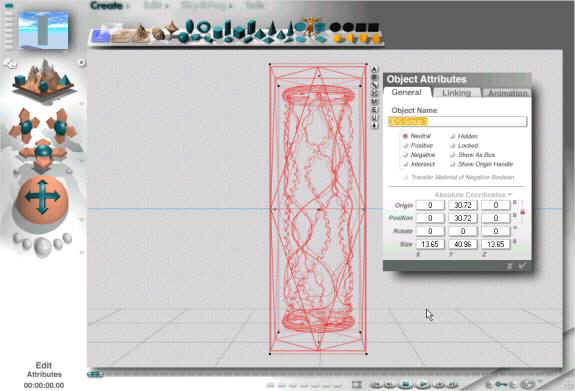
You’ll need to export the bounding box with each layer because Bryce converts all dimensions into Bryce units. No matter what the actual dimensions of a model, Bryce scales the largest axis dimension (X, Y or Z) to 40.96 Bryce units. Since the bounding box is always the same size, each piece of the model is scaled the same way preserving alignment and relative proportions. Step 5 – Export each layerTurn on one layer AND the bounding box layer, select and export in the 3DS format. Export one file for each layer (and the bounding box). Step 6 – Import each layer into BryceOpen Bryce and import the first piece. Notice that the Z axis was scaled to 40.96.
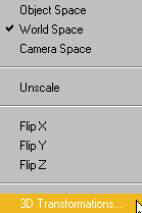
Step 7 – Scale the piece and drop it to the floorIf you need to resize the model, use the click on Edit and use the 3D Transformation option. Remember what scale you used, you’ll have to scale each file in exactly the same way.
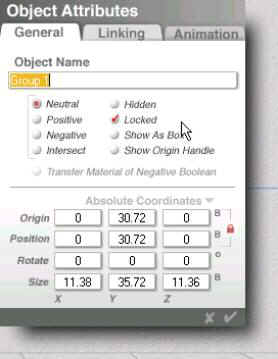
Finally, drop the piece to the floor. Step 8 – Remove the bounding boxWith the current piece still selected, ungroup it but don’t deselect it. Shift-click on the bounding box only. This should remove the bounding box from the selection. Depending on the model, this may be easier to do this from the top view. Regroup the selection, apply the material for the group and lock it from the Object Attributes dialog. Locking the group helps avoid accidentally moving the objects and messing up the alignment as you work with other parts of the scene.
Finally, delete the bounding box object. Step 9 – FinishRepeat steps 6, 7 and 8 for each file you exported. If you still have trouble importing, reduce the polygon count using Rhino’s export dialog box. You’ll have to experiment a little with this but I’ve found you can move the slider almost to the minimum without significant loss of resolution. If you do find it necessary to reduce the polygon count, make sure you smooth the group before you render it. Copyright © 2000 - CJC, all rights reserved |