|
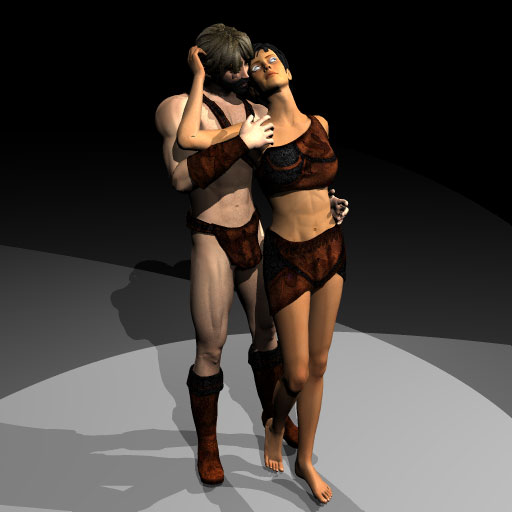
Import the model into BryceI setup a quick studio scene in Bryce and imported the grouped .OBJ file. When I begin a scene I use the Regular render quality and I zero the edge softness and soft shadow settings so that the scene renders quickly while I'm setting up the materials. I'll adjust the those settings later for a better quality render after everything else is setup. Pretty painless overall and you could almost get away with leaving the textures as they are if you were using a slightly more distant camera. I also didn't get any missing file dialogs because I moved the .OBJ into the same directory as the collected texture and bump maps.
For this tutorial I'm going to quickly run through how to setup the materials in Bryce. If you need a more basic tutorial there are others in the tutorials section of this site that go into more detail for both Bryce and Carrara. Here I'll focus on some of the features that are unique to Bryce 5 that really help with the workflow and isn't covered in the other tutorials. Selecting ObjectsThere are a couple ways to select objects in Bryce. When I imported, all the objects in the model were conveniently grouped together. The first way to select the individual objects is to tap the tab key until the group is selected (or just click on the group) and then click on "U" to ungroup the model so you can select each object individually. I hate this method. Mostly because if you click on an object it is very easily to accidentally move it out of position. It's really sad when you've got this great scene going and after the final render is complete you notice you've got an eyeball hanging somewhere out in left field. If you really prefer to use this method I suggest that before you ungroup the objects you assign them all to a color family so that it's easier to isolate them from the rest of your scene later. The second method is to again select the group and take it into solo selection mode. Toggle the palette at the bottom of the screen to the selection palette and click on the center dot of the VCR control to enter solo selection mode. Once in solo mode, you can use the tab key to cycle through the objects. This method is ok but I prefer the third method.
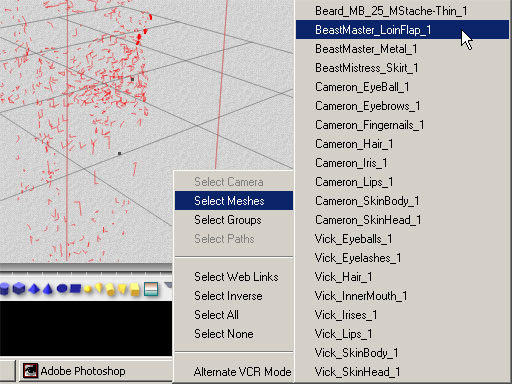
The last method is to use the Select Options/Select Meshes menus. Click on the small triangle next to the Select Families icon to open the selection menu. I like this one because I can always see where I'm going. There's very little chance I'm going to accidentally apply the LoinFlap material to the SkinHead object this way.
With the whole list in front of me I see that Bryce imported each material group as I asked and even tells me which material belongs to which figure. The figure names are the ones I assigned in the Poser Hierarchy Window.
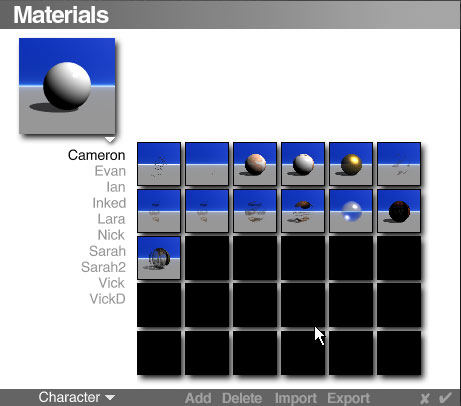
User Defined Material LibrariesWith a small group of materials with descriptive names it's a simple matter to setup the materials in Bryce. One very convenient feature new to Bryce 5 is the ability to create user defined material libraries. For each new character I create I also create a group of material presets. Again, if you're not clear on the details of how to setup Bryce materials for each material group, take a look at the other tutorials.
The the presets defined, it's now simply a matter of selecting each object and applying the appropriate material. Technically I should be keeping three maps for the SkinHead, Iris and Lips objects but I've found it's easier to keep one preset and just adjust the specularity after I apply the preset. Same goes for the SkinBody and Fingernails objects. When I first created these presets I had to manually locate the appropriate transparency maps for the hair, eyelashes and beard.
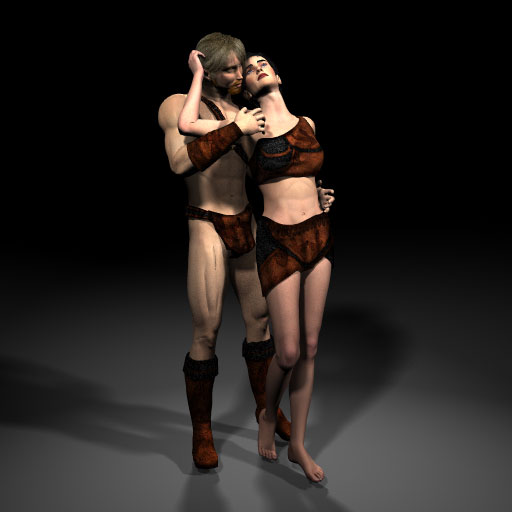
This is how the scene looks so far. Now that I've done all this work I'm thinking ... I hate this pose. More to the point, it isn't working well with my original concept for this image. Ok, for tutorial purposes I have to admit that I intended to hate this pose to show how quick and easy it is to go back and make minor, or even major changes to your figures once you've got your templates in Grouper and your materials in Bryce setup. Back to Poser ... Questions, comments to grouper@castironflamingo.com. |