|
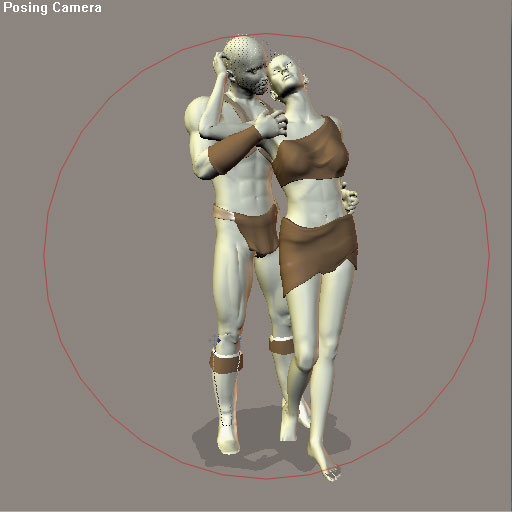
Create the model in Poser and exportFor this tutorial I'm using some DAZ products. Cameron is a character I previously created from the stock Michael model. Here he's sporting the LQ hair and I'm also using Victoria with Gel Hair, the Beastmaster clothing package and some couple poses by Yve. Aside from the modifications to Michael, everything else is off- the-shelf. I also used The Tailor on the Beastmaster clothing for the Cameron character.
While still in Poser I also changed some of the figure names to make them a bit more descriptive. This is an optional step but it makes things a little easier down the line.
The scene I have in mind will also include some objects created in Rhino but I'll create and add them later once I create the scene in Bryce. For now, I've combined all the elements I'm going to use in Poser and I'll export the model in the .OBJ file format. The .OBJ file formatPoser supports a variety of export file formats but I chose this one for two reasons. First, the .OBJ format lends itself to Poser models because it includes additional information that makes the model appear smooth when imported. Second, I can use Grouper to optimize the model's materials so I can concentrate on the image rather than the mechanics of exporting and importing. Poser models (and most other digital models) are made up of a very large number of simple polygons. Normally these will be small triangular or quad surfaces called facets in (.OBJ format speak). Poser organizes all these many small surfaces into objects (groups) like a head or an eyeball and those objects combine to create what we tend to think of as a figure. Each facet, is also assigned characteristics to describe how it should look when it is rendered. These characteristics are called optical channels such as diffuse, ambient and specular. To create a realistic looking figure in the final render, the model needs to define different optical characteristics for virtually every facet. In this example I've got 233,044 facets and it just isn't feasible to define a unique set of characteristics for each using a brute force approach. Fortunately there's an easier way. Each facet in 3-space can be associated with a flat, 2-space texture map by something called UV coordinates. The UV coordinates of a model tell the rendering engine exactly where on the texture map to find the diffuse, ambient, specular (and other) characteristics of a particular facet. Exporting the modelNow that I've decided which format to use, I'll export the model. Poser offers a wide variety of confusing options during the export process. I'm going to accept all the default values.
Since each facet is assigned to a relatively small number of materials (usually a dozen or so), Grouper looks at each facet and reorganizes it into an object with other facets that use the same material. For each material defined in an .OBJ file, there will be exactly one object after Grouper has finished processing the file. Poser won't do this for me. In addition, the material name is more descriptive than the name Poser assigns to it's objects. It's easier to work with objects with names like SkinBody than with a series of objects with very similar meaningless names. When Poser creates the .OBJ file, it also creates a .MTL file with the same name. The .MTL file defines the properties of each material referenced in the .OBJ file. If you move the .OBJ file to a different directory, be careful to move the .MTL file along with it. On to Grouper ... Questions, comments to grouper@castironflamingo.com. |