|
|||||||||||||||||||||||||||||||||||||||||||||||||||||||||||||||||||||||||||||
|
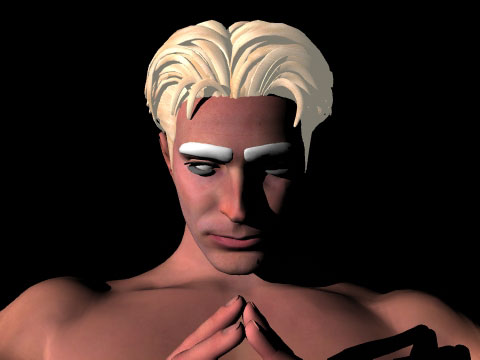
Zygote's Michael is a rare case where the product actually lives up to the advertising. But if you're using Bryce to render this model, you've got to be aware of a few things to get the best results. I'm assuming you've already created your model in Poser and post-processed the Wavefront OBJ file with Grouper. If not, everything here still applies but you'll be spending a lot more time grouping and applying textures. As an example, when you import your model into Bryce, much of the texture information is lost in the process and you're likely to see something like this. This is the stock Michael model with the stock Zen pose.
A typical Poser model after importing.
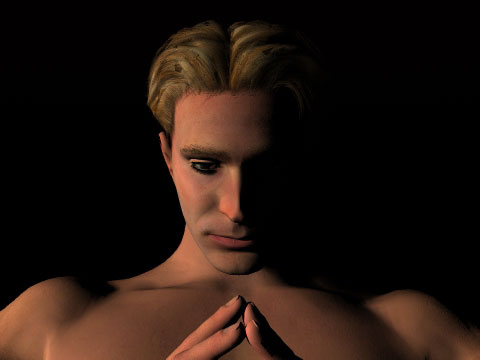
The same model with textures correctly applied. Missing MapsZygote's textures for Michael include the following:
These all work great in Poser but, since Bryce doesn't read the .bum format, you can't use those maps in Bryce. Also, there are no specularity maps. This isn't an uncommon situation. If you're using alternate texture maps you'll find that they frequently don't include everything. Fortunately, it's easy to recreate the missing maps. Check the other tutorials in this section for the details on how to do this. Let's assume you've already done that and you have the following maps ready:
You don't need all these maps to get good results but if you're doing close-up views you'll get more realistic results. Mapping MaterialsSince Bryce has four channels, and we have four kinds of maps, we can keep things organized by assigning each kind of map it's own channel.
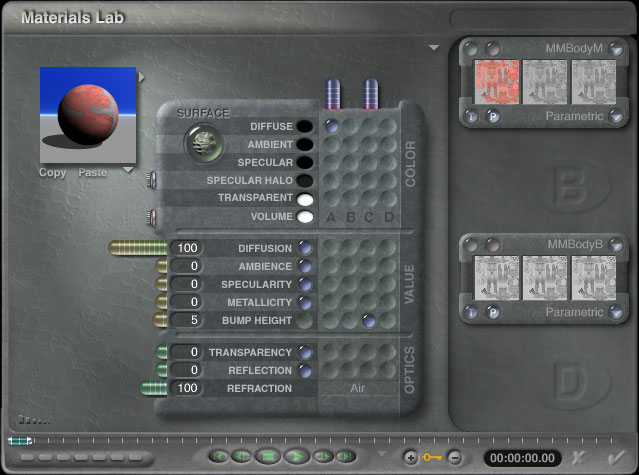
When you import your model, you'll typically have either 20, 8 or 7 separate objects to texture depending on the options you chose in Grouper (you'll see up to 88 otherwise).
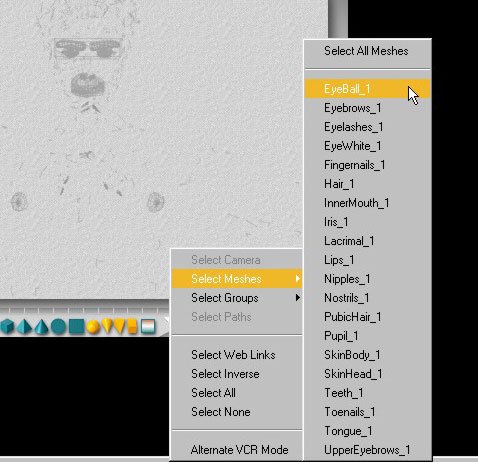
In Bryce, turn on the selection palette. If you aren't familiar with the selection palette, dig out the manual and check page 46. You can select multiple objects by holding down the shift key when you click on the triangle between the object types and the VCR controls.
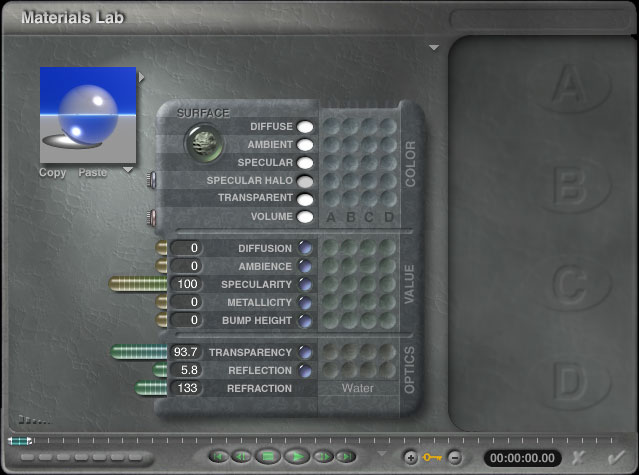
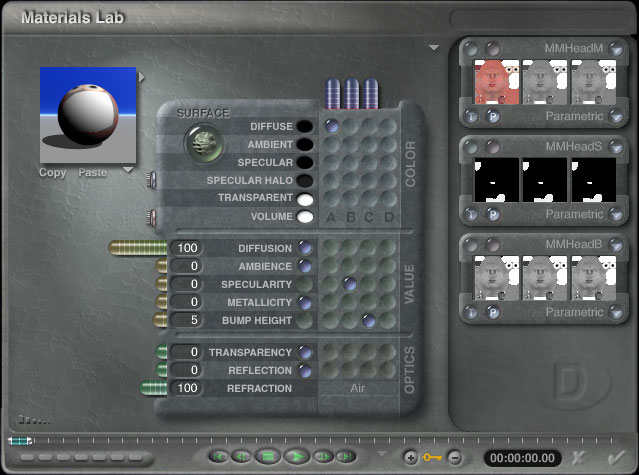
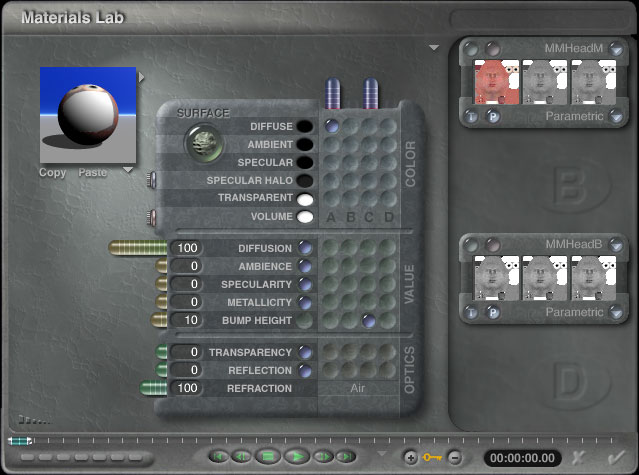
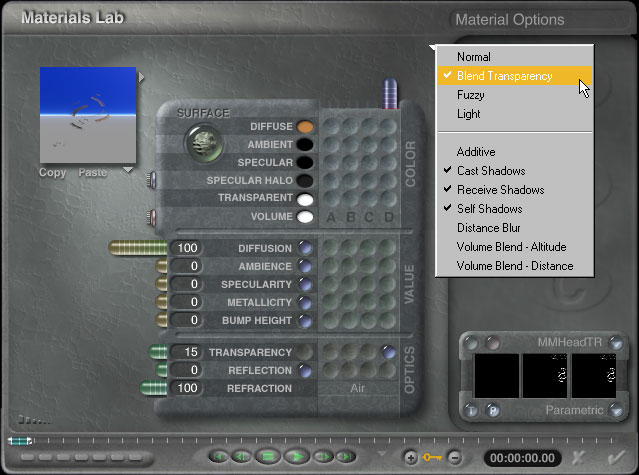
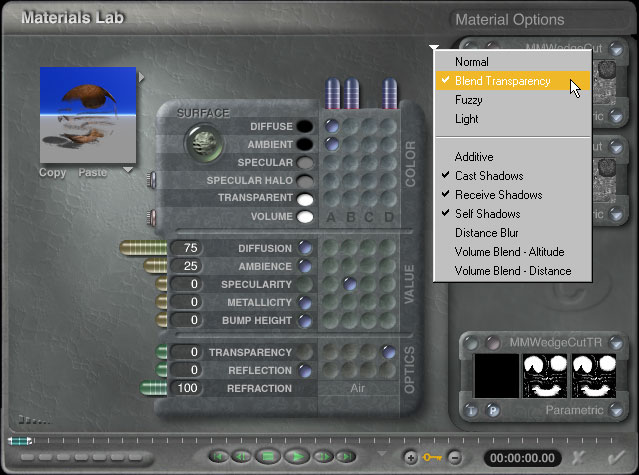
Select the objects, group them, then open the materials lab and set the textures as follows:
Tips
Copyright © 2000 - CJC, all rights reserved |